Stable Diffusion是一种AI绘画生成工具,由Stability AI 出品。今天他们的ceo 辞职了。
试用了一下nijiMidjourney,它们要收费,且不好用,就果断放弃了。B站看了一下stable diffusion的效果还可以的,就下载下来玩一下
先决条件
1、梯子 dddd(懂的都懂)
2、git 拉取stable_diffusion_webui的代码
3、python 3.10.6 版本,其他的版本可能会出现很多问题。
安装python
我用mac电脑
https://www.python.org/downloads/release/python-3106/
下载里面的
macOS 64-bit universal2 installer 其他的可以自行下载
这tame的是个pkg包,安装完成之后 有个python laucher,打开就好了,是个火箭形状的。
在命令行 输入python3 可以进入python的交互界面,就证明安装ok了
下载stable_diffusion_webui
如果有梯子,临时的把代理端口改到自己的梯子端口
export https_proxy=http://127.0.0.1:7890 http_proxy=http://127.0.0.1:7890 all_proxy=socks5://127.0.0.1:7890
下载代码:
git clone https://github.com/AUTOMATIC1111/stable-diffusion-webui.git
启动安装 webui
cd stable-diffusion-webui
执行命令 ./webui.sh
当出现
Running on local URL: http://127.0.0.1:7860
在浏览器访问
127.0.0.1:7860 这时候就安装成功了,如果不喜欢白色的主题,可以用黑色主题
http://127.0.0.1:7860?__theme=dark 看起来顺眼多了~
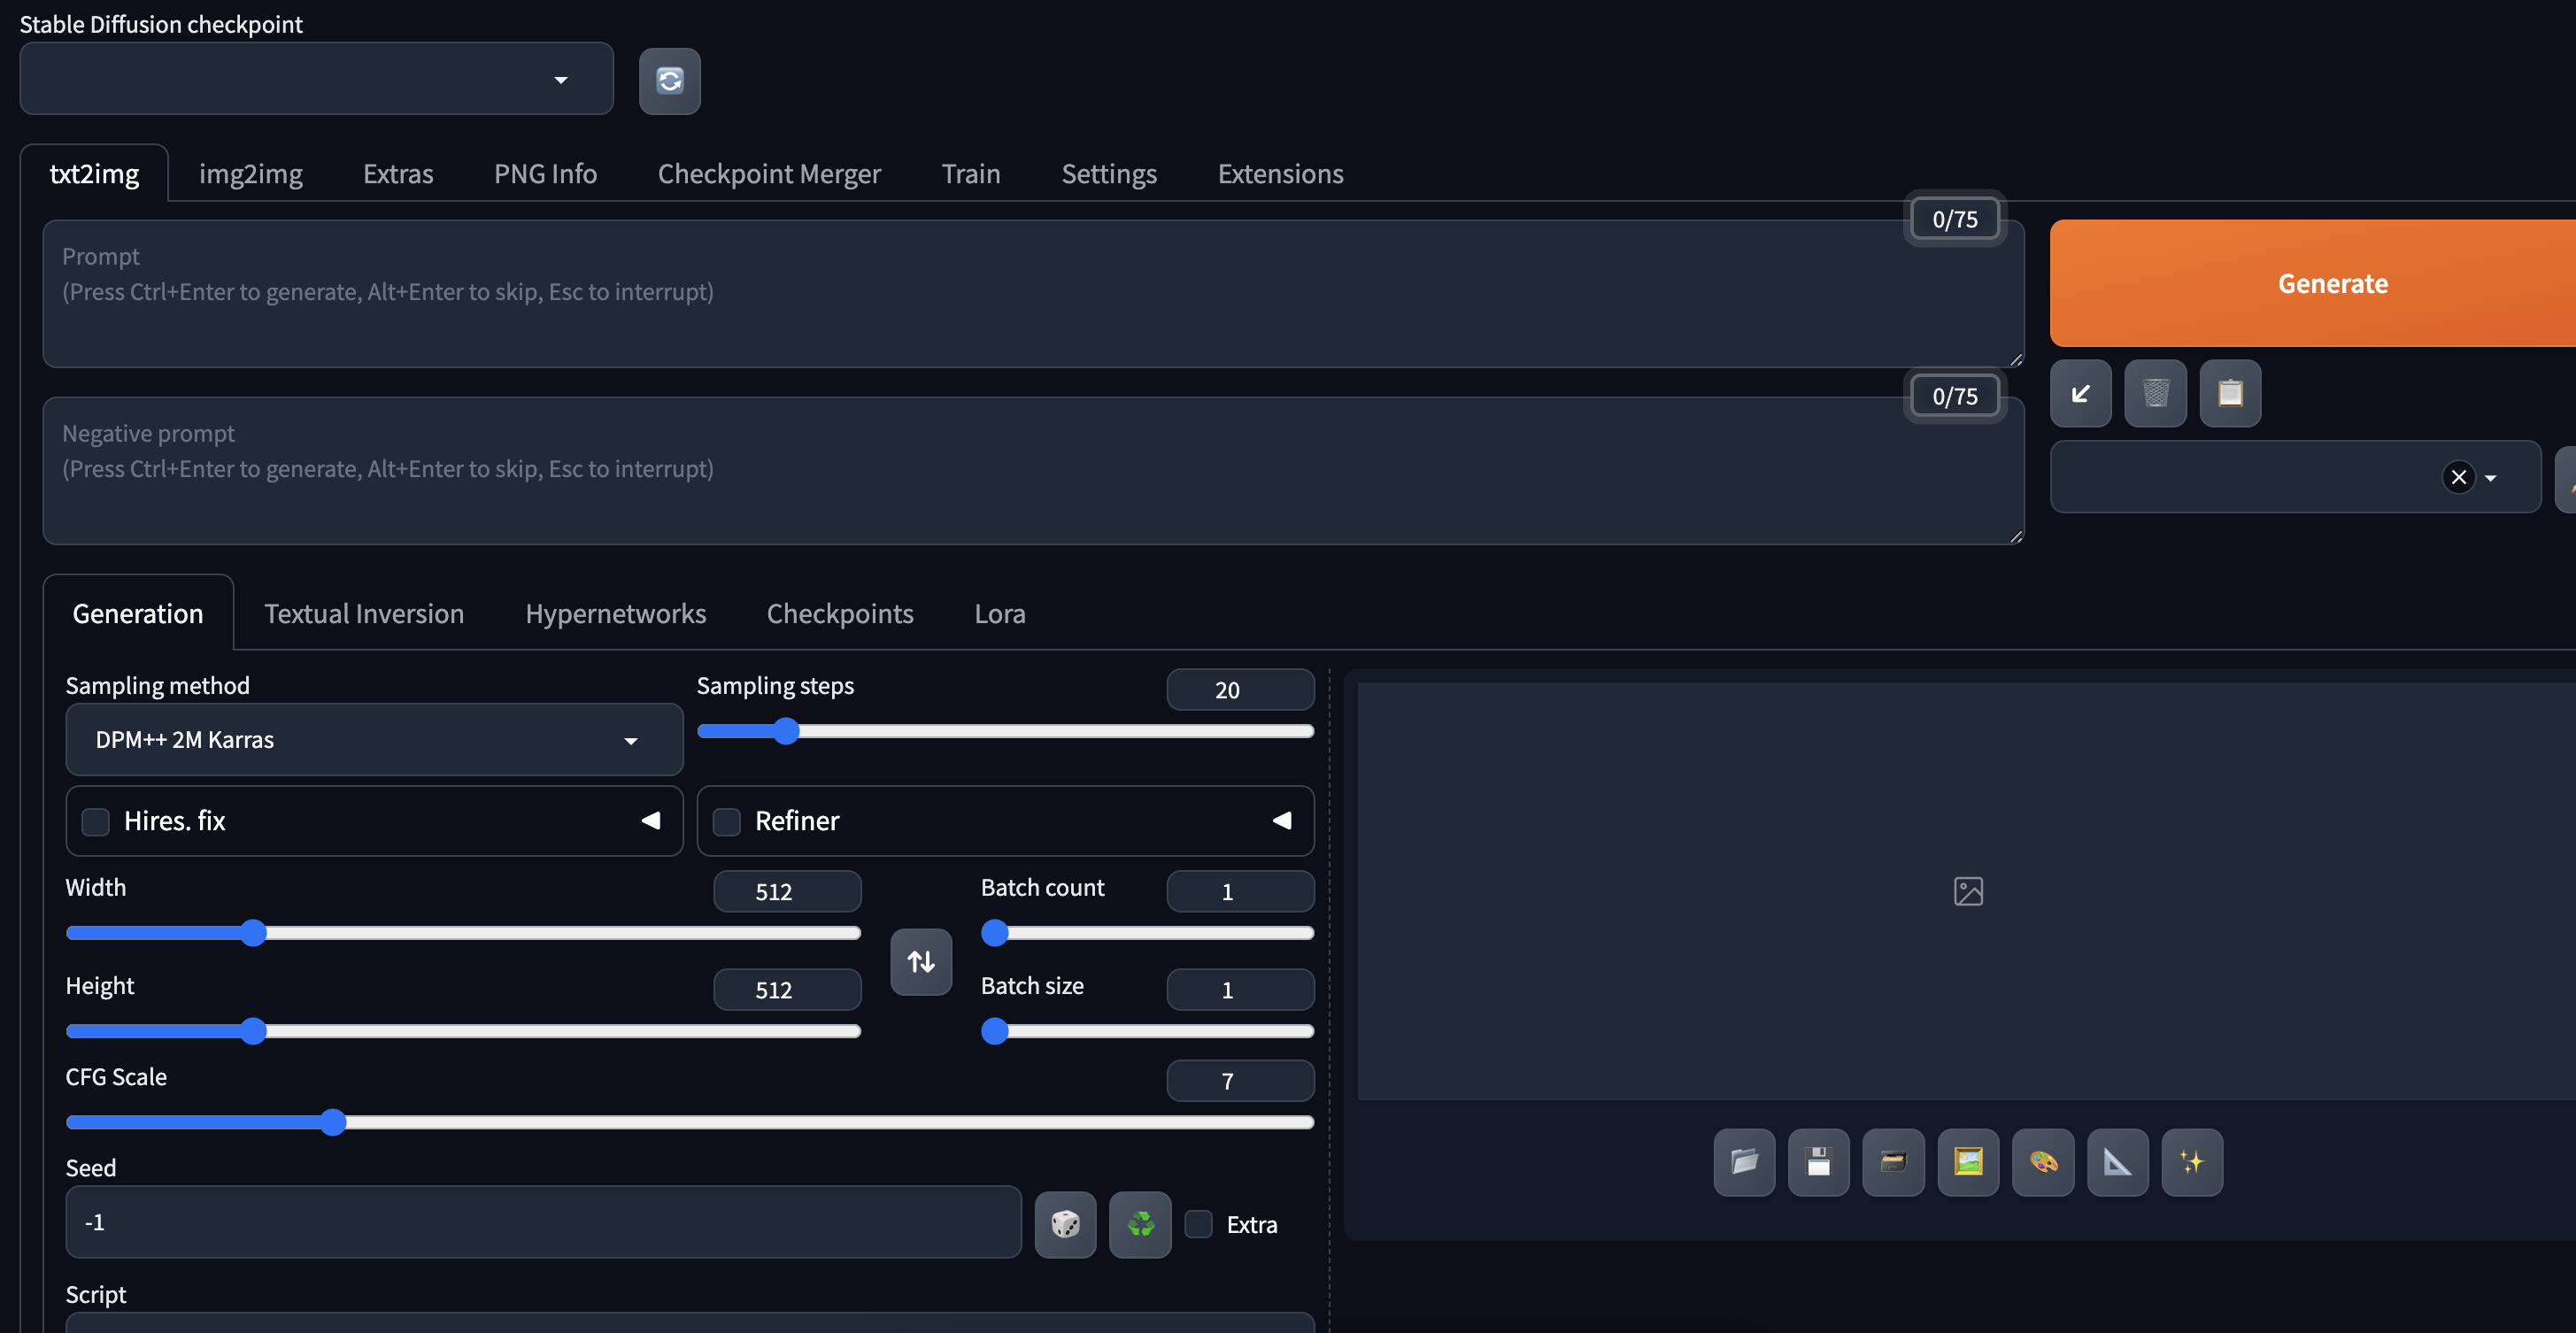
其中prompt 就是提示词,negative prompt 就是反向提示词,这个举个例子就能知道了,
如果prompt 是这样,
a cat running in a beautiful garden,那么生成的小猫在花园里,就有花的存在。
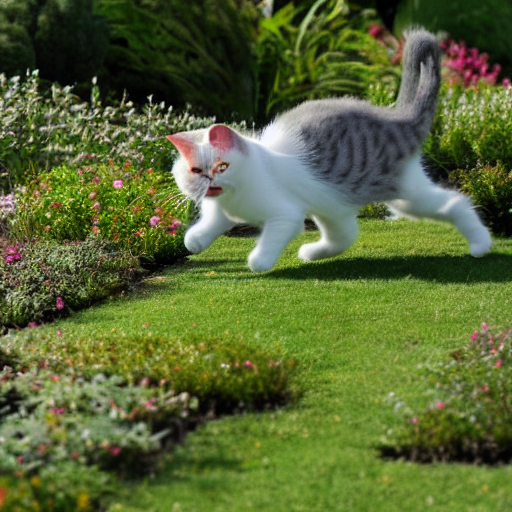
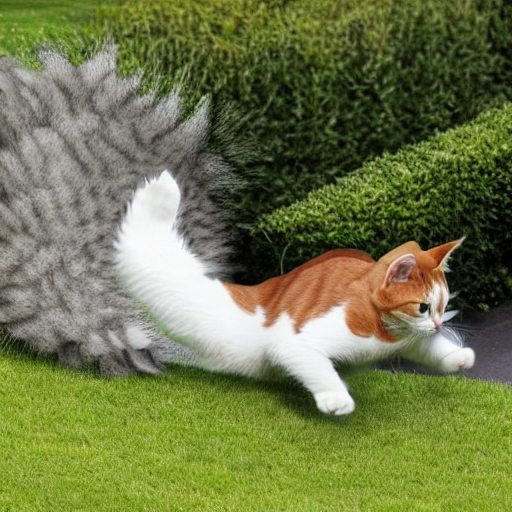
如果negative prompt 里面输入了 flower ,那么生成的画面里面就没有花了。
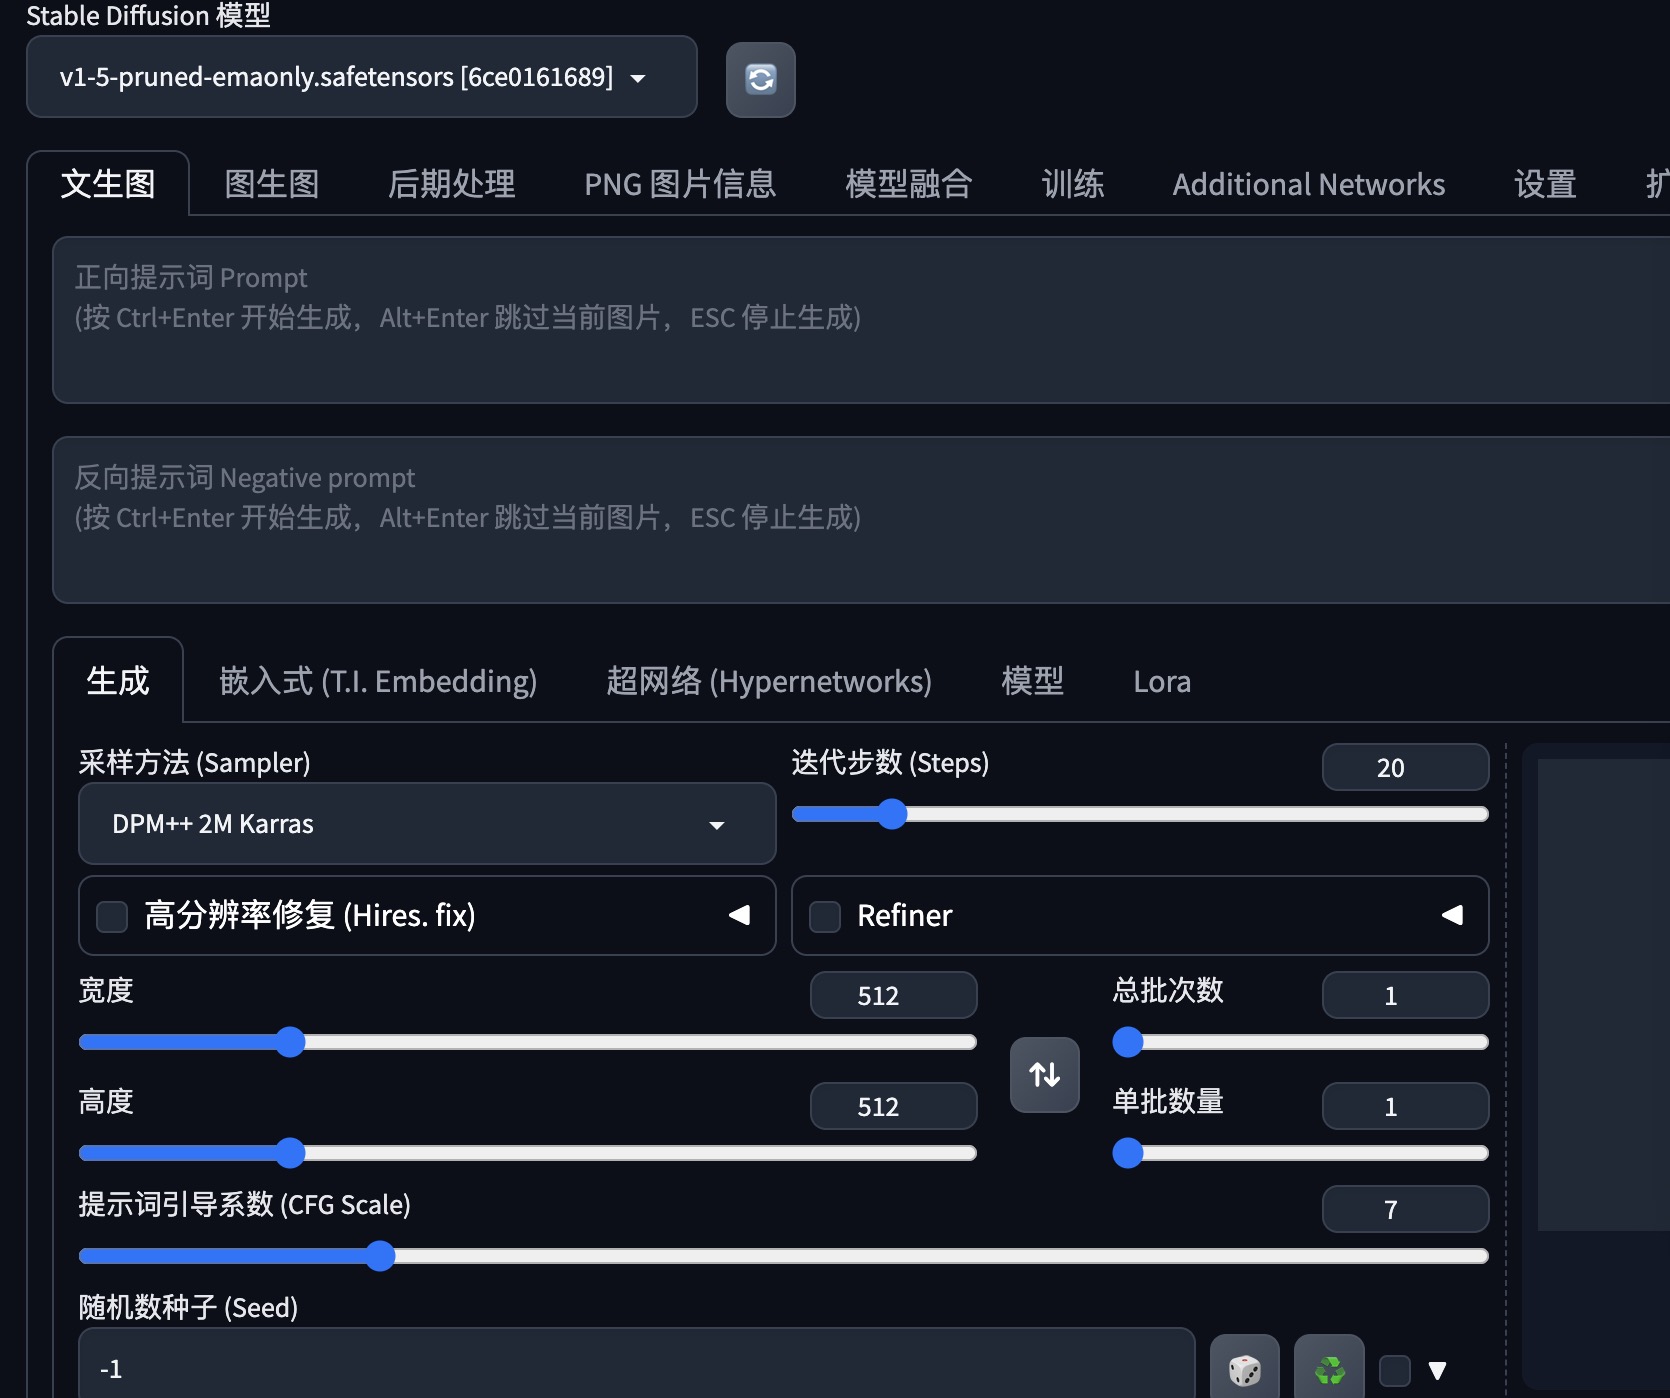
汉化
记得CMD里面要把https_proxy 改成代理的
打开页面 http://127.0.0.1:7860
1 点击里面有个extension->avaliable,勾选掉 localization 的对号,点击load from 按钮。
2 然后下面会出现一堆语言包,搜索Zh,选择简体中文版的(有simplied Chinese字样的),点击install,
3 接着点击上面的 settings,出现的页面有Reload UI
4 点击extension,在install 面板确认刚才的汉化包已经被选中了,点击Apply and Restart UI
5 再次点击settings,在左侧找到 User interface,在右面最顶部找到localization,下拉选择zh_CN,然后在页面的顶上会出现 Apply settings 按钮,点击之后,再点击右边的Reload UI,之后就是中文页面了。
如果有问题,请参照问题3解决。若仍不成功,英文版的将就着吧。
界面介绍
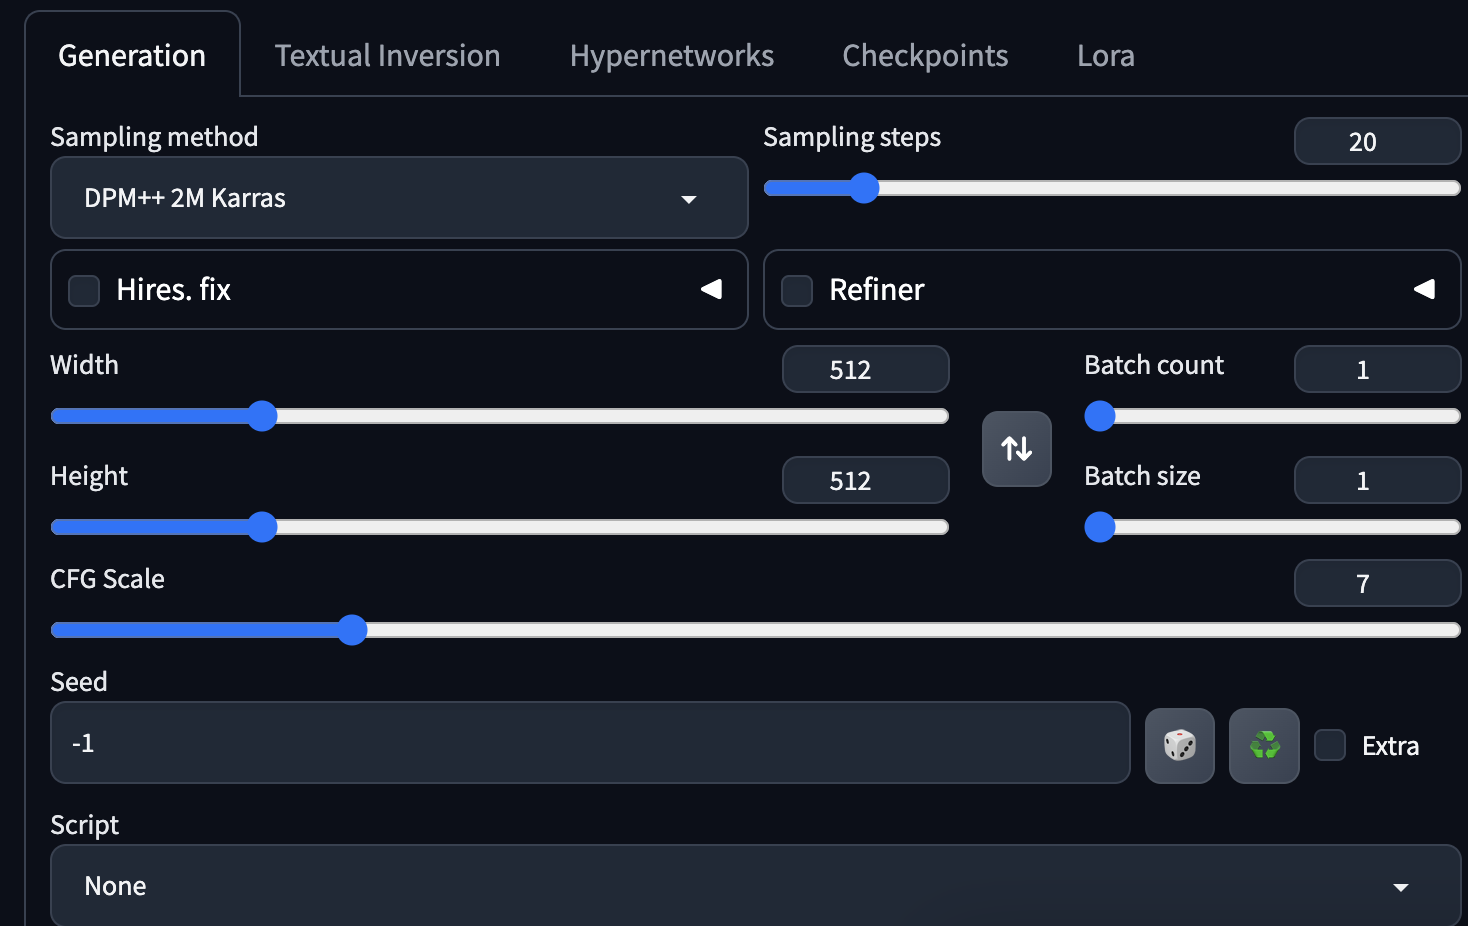
- 1 Sampling method 就是采用的采样算法
- 2 Sampling steps 采样深度,深度越大采样越精准,比如一张图,深度越深,图的细节就比较多一点。
- 3 Width Height 就是宽高 右边的上下箭头就是交换宽高的数值,如果宽高很小,图片就会失真。
- 4 Batch count 批次,一次生成几批图
- 5 Batch size 批量,一次生成几张图
- 6 CFG Scale: Classfier free guidance scale (提示词引导系数),用来控制模型在生成图像的时候,多大程度的符合你的提示词。
1 代表大多忽略你的提示
3 更有创意
7 遵循提示和自由之间的良好平衡,默认值是7
15 更加遵守提示
30 严格按照提示执行
如果值太高,图像的颜色会饱和。提示词越往后占的权重就越小,如果cfg Scale 比较小,就可能会忽略后面的提示词。
- 7 seed 种子值:
在生成图像的时候,生成一些初始参数,种子值会控制图像的内容,每一个图像都有种子值;种子值右边的绿色循环小按钮,代表可以使用上一次生成的图像的种子值。
说人话就是,你上次生成了一图,结果感觉差点什么装饰,你还想再这个图上继续作画,那么就把种子值填进去,再生成的图片基本就是差不多同样的。 - 8 Hires.fix 高清修复,会变更宽高。
图片输出区的介绍:

从左往右:
1 生成图片保存的目录
2 save 可以把图片下载到本地
3 zip 就是打包图片
图生图
点击 img2img,可以仿照一张图片的样子,根据提示词(promt)去生成另一张,我试了一下我的照片,可能由于颜值过于强大,生成Trump和Putin 都不太像。
原始图片:
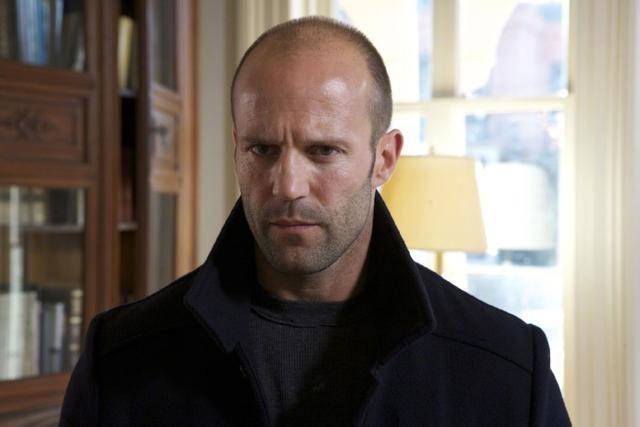
prompt: Donald Trump,analog style
negative prompt: nsfw, lowres, bad anatomy, bad hands, text, error, missing fingers, extra digit, fewer digits, cropped, worst quality, low quality, normal quality, jpeg artifacts, signature, watermark, username, blurry, bad feet,
Sampling steps:32
Denoising strengh: 0.5
生成图片:
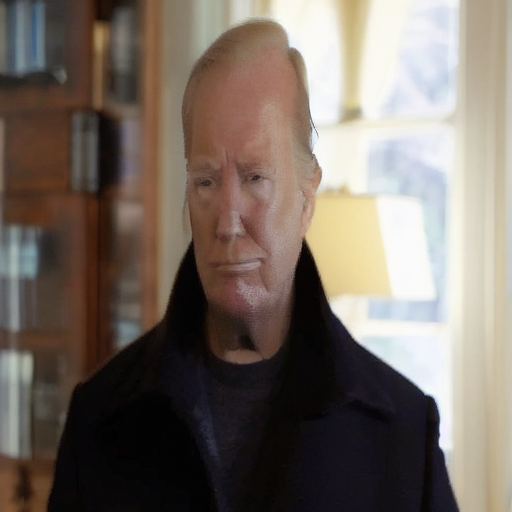
emmm,也不能说一点不像吧
LoRA 模型(微调模型)
生成这种辣眼睛的东西,实在不是初衷~,萝莉、御女才是宅男的最爱啊。
1 去 https://civitai.com/ 网站 搜索 doll likeness (网红脸)内容,进行下载
然后放在 stableDiffusion/stable-diffusion-webui/models/Lora中;
2 同样是上面的网站,搜索 chilloutmix 大模型,然后放到
stableDiffusion/stable-diffusion-webui/models/Stable-diffusion中;
3 安装插件 kohya,仍然是extensions->avaliable,搜索一下 "Kohya-ss Additional Networks models",点击安装。
查看已经安装,出现有个插件地址是https://github.com/kohya-ss/sd-webui-additional-networks.git;就已经安装成功了。
应用之后,会出现一个 Additional Networks,中文是可附加网络。
点击”文生图“,点击LoRa 按钮,选择刚才下载的一些微调模型,会在promt那里出现
<lora:Korean Male Model 1.0:1> 可以参加多个,注意后面的1是权重,多个模型累加是1就行
demo:
prompt:
<lora:Korean Male Model 1.0:0.5>
girl during the day, best quality, bright sunshine,sunlight on the face, masterpiece,(photorealistic:1),ultra high res,highres,lovely,illustration, delicate,8k wallpaper, soft lighting, official art,long hair,beautiful girl
negative prompt:
(((simple background))),monochrome ,lowres, bad anatomy,bad hands,text,error,missing fingers, extra digit,fewer digits, cropped,worst quality low quality,noral quality,jpeg artifacts signature,,watermark, usename, blurry,ugly,pregnant,vore,duplicate, morbid,mut ilated,tran nsexual, hermaphrodite,long neck,mutated hands,poorly drawn hands pooly drawn face, mutation,deformed, bad proportions,malformed limbs,extra limbs,cloned face,disfigured,gross proportions,(((missing arms)),(((missing legs))),(((extra arms))),(((extra legs))),public hair, plump,bad legs,error legs, bad feet,NSFW,anime,cartoon, hairy, painting,sketch, drawing, easynegative,foot, straps,glare, lowres,shadow,extra legs, badeye, chid,
结果

虽然有点假,好歹不辣眼睛了 哈哈哈哈。

ε=(´ο`*)))唉~ 顺眼多了是不是。生成四张来试试

还是可以的这微调模型。
## 遇到的问题
问题1 :
```
FileNotFoundError: No checkpoints found. When searching for checkpoints
```
解决:
Stable-diffusion模型没有下载完成,需要手动下载大约4个G,请慎重选择
cd stable-diffusion-webui/models/Stable-diffusion
4个G哦,网速不给力 下死个人(我下了一个小时。。。)
```
wget https://huggingface.co/runwayml/stable-diffusion-v1-5/resolve/main/v1-5-pruned-emaonly.safetensors
```
问题2:
启动 webui.sh 报错,因为我开启了代理,不开代理访问不了外网,开了就报错。
```
ImportError: Using SOCKS proxy, but the 'socksio' package is not installed. Make sure to install httpx using `pip install httpx[socks]`
```
解决方法:
1 pip3 install socksio,如果ok,再启动,很遗憾我的不行
2 编辑./webui.sh,在最后一行增加pip3 install socksio。这次ok了
问题3:更换中文语言的时候报错
```
<urlopen error [ssl: certificate_verify_failed] certificate verify failed: unable to get local issuer certificate (_ssl.c:997)>
```
因为安装包下载的,没有执行 Install Certificates.command
在访达里面找到python3.10->双击 Install Certificates.command,弹出一个框,等待跑完就结束了。